
6 Steps to Manufacturing Process Optimization with Machine Monitoring
Manufacturing process optimization and technology now go hand in hand, giving teams the precise data they need to act. This guide walks through 6 steps to transform shop floor decision-making, from initial project focus to result validation and continuous improvement, powered by automated machine monitoring.

Content
In modern manufacturing, efficiency is no longer defined by a printed report or spreadsheet at the end of the shift. Waiting hours or days to discover that a machine produced fewer parts or accumulated dozens of machine stops is a reactive strategy that can cost thousands of dollars in competitiveness.
Today, manufacturing process optimization depends on immediate visibility, and that can be achieved through machine data collection and automated machine monitoring.
There are three main functions around automated machine monitoring:
- Real-time tracking and updating of production metrics
- Automatic collection of precise data for reference
- Automated historical production reports and Pareto charts
Adopting manufacturing technology for improving factory visibility requires a structured effort. The technology needs to integrate with existing processes and machines so leaders and operators can incorporate it into their daily tasks.
Beyond reacting immediately to unplanned events, having visibility and a reliable, accurate historical record of data allows continuous improvement teams to develop kaizen and optimization projects based on real information rather than assumptions. Because of their precision and data quality, automated monitoring technologies are now considered a best practice for measuring indicators and optimizing processes.
Based on global standards such as ISO 22400, continuous improvement, and lean manufacturing best practices, here are 6 essential steps to optimize your processes using automated machine monitoring technology.
Step 1: Establish the Project's Focus
Before making any adjustments to your manufacturing processes to optimize them, you need to define the purpose of the effort. Pursuing incremental manufacturing optimization isn't the same as solving a critical productivity, quality, availability, or cost problem on the shop floor.
Clarify whether the project will be approached as a Kaizen event (a quick improvement sprint focused on one area), a change to interdepartmental communication processes, or a workflow and layout reengineering effort. Having a clear focus aligns expectations around the project from day one.
Step 2: Prioritize Critical Machines and/or Bottlenecks
The most common mistake in manufacturing optimization is trying to measure the entire factory at once, which tends to dilute resources and effort. It's best to run projects that prioritize critical machines and/or bottlenecks, since they can impact the entire operation and deliver tangible results when improved.
Critical machines and/or bottlenecks can be:
- Processes that run 24/7
- High-speed processes
- Processes that are costly and difficult to maintain or repair
- Complex and/or expensive processes
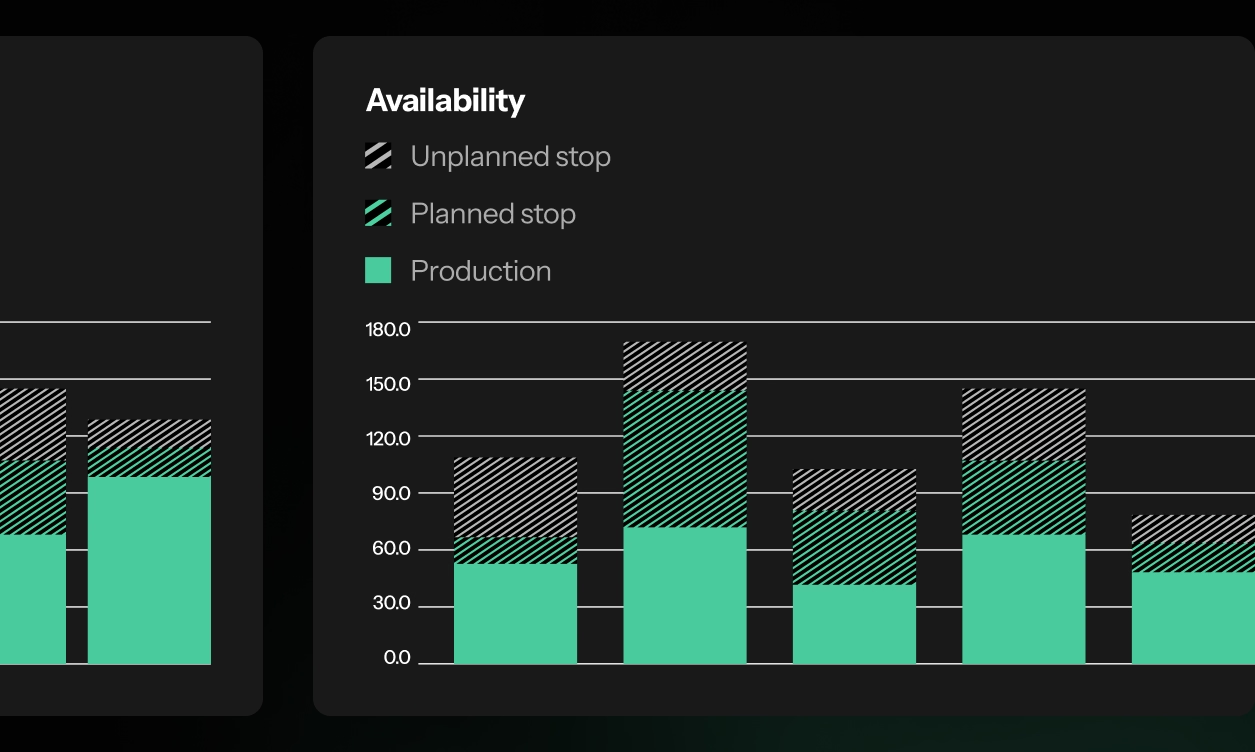
For this type of machine, machine stops hurt twice: once in availability, once in performance. That’s why downtime reduction and OEE improvements are more likely to have tangible and effective results for your operations.
Step 3: Define Your Process Baseline
To know whether you're improving or making a positive impact, you need a clear, objective way to measure performance. To do this, you need to understand how your manufacturing processes operate in a quantifiable way that allows you to make comparisons.
Automated machine monitoring comes into play here: it can capture the current machine performance and help you establish an objective baseline. This initial measurement will serve as a comparison for evaluating the real impact of the implemented improvements.
Once you've defined a process to focus on, you can measure indicators such as:
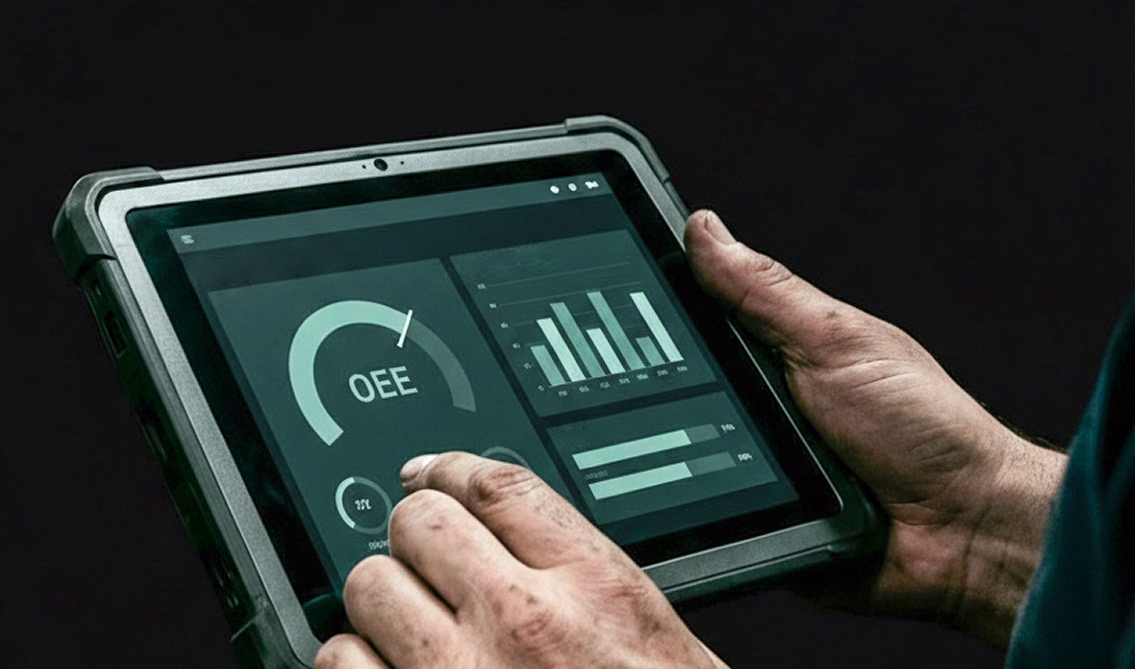
- OEE
- number of unplanned machine stops
- duration of planned machine stops
- number of parts produced
- number of defects
- or other indicators relevant to your processes
Machine monitoring technologies can provide these production metrics and more during a shift or over a set period of time. What matters is having accurate, up-to-date, and reliable data that allows you to make a comparison once the project is complete.
Step 4: Set Goals & Important Production Metrics
Once you've established a measurable baseline for the project, you can set a defined goal and any production metrics that will help you measure impact.
Examples:
- Increase OEE by 2 points.
- Reduce unplanned machine stops by 10%.
- Reduce defective parts by 5%.
This is where automatic monitoring comes into play again, since it will help you measure these indicators after making adjustments and run an objective comparison. This is what allows you to evaluate whether the optimization was successful.
It's important to keep these goals achievable and realistic. Ultimately, manufacturing process optimization is a systematic approach to identify opportunities and areas for improvement that aims for incremental—not definitive—results.
Step 5: Plan Changes, Adjustments, and Cross-Departmental Alignment
Analyze the selected process and define the adjustments you're looking to make. What takes the most time, or what can be improved? Consider making adjustments to layout, workflow, or even the order of the steps used to manufacture a part or product. The most important thing is to keep in mind that this isn't a project isolated to the production department, but a joint effort.
Once you have clarity on the adjustments, seek support from other teams if needed. For example, seek support from engineering (for adjustments to dies or parts involved in the process), quality (to address processes related to defects or scrap), and maintenance (for support with machine stops, equipment issues, and condition). Coordinate adjustments with the other teams, keeping the project's established goal in focus.
Explore our platform
Step 6: Execute the Plan, Monitor, and Validate Results
With the strategy in place and the teams aligned, it's time to take action and put the changes to the test to optimize your industrial processes.
Roll out the action plan and make the operational adjustments planned in the previous step. After making the adjustments, compare these values against the new data. Use automated machine monitoring solutions to compare the indicators you defined as the project's baseline. With real-time factory visibility, you can also see the impact of the adjustments as they're implemented in your processes and generate insights or hypotheses without waiting for the experiment to end.
Validate the results by comparing production metrics before and after the adjustments. Use machine data preferably, so you have reliable information—measuring only by observation may miss important factors. Once you have your results, determine whether the change worked, introduced new variables that didn't benefit the process, or needs further adjustments.
The Key: Iterate Until You Achieve the Desired Results
Improving manufacturing processes isn't a project with a fixed end date; it's a continuous cycle that follows a continuous improvement framework.
If the validation from the previous step shows the project's goals weren't met, the team needs to go back to analyzing the data and processes, make new adjustments, and run the cycle again. This constant iteration process, guided by the visibility that technology provides, is at the heart of continuous improvement and what ensures sustainable long-term benefits. Your production metrics will guide every decision along the way.
How Can You Drive Manufacturing Process Optimization with Agility?
International models like the Smart Industry Readiness Index (SIRI) agree that success in optimizing manufacturing processes doesn't depend on technology alone, but on how quickly an organization adopts information. Many manufacturing leaders postpone these projects because they assume that identifying bottlenecks or establishing baseline metrics requires costly, invasive integrations with their machines.
Although there are teams dedicated to continuous improvement and managing OEE software, they often use outdated tools that don't provide accurate information or data about what's happening. Manufacturing process optimization has been a widespread practice for more than 50 years, but having accurate information to support better decisions is more necessary than ever.
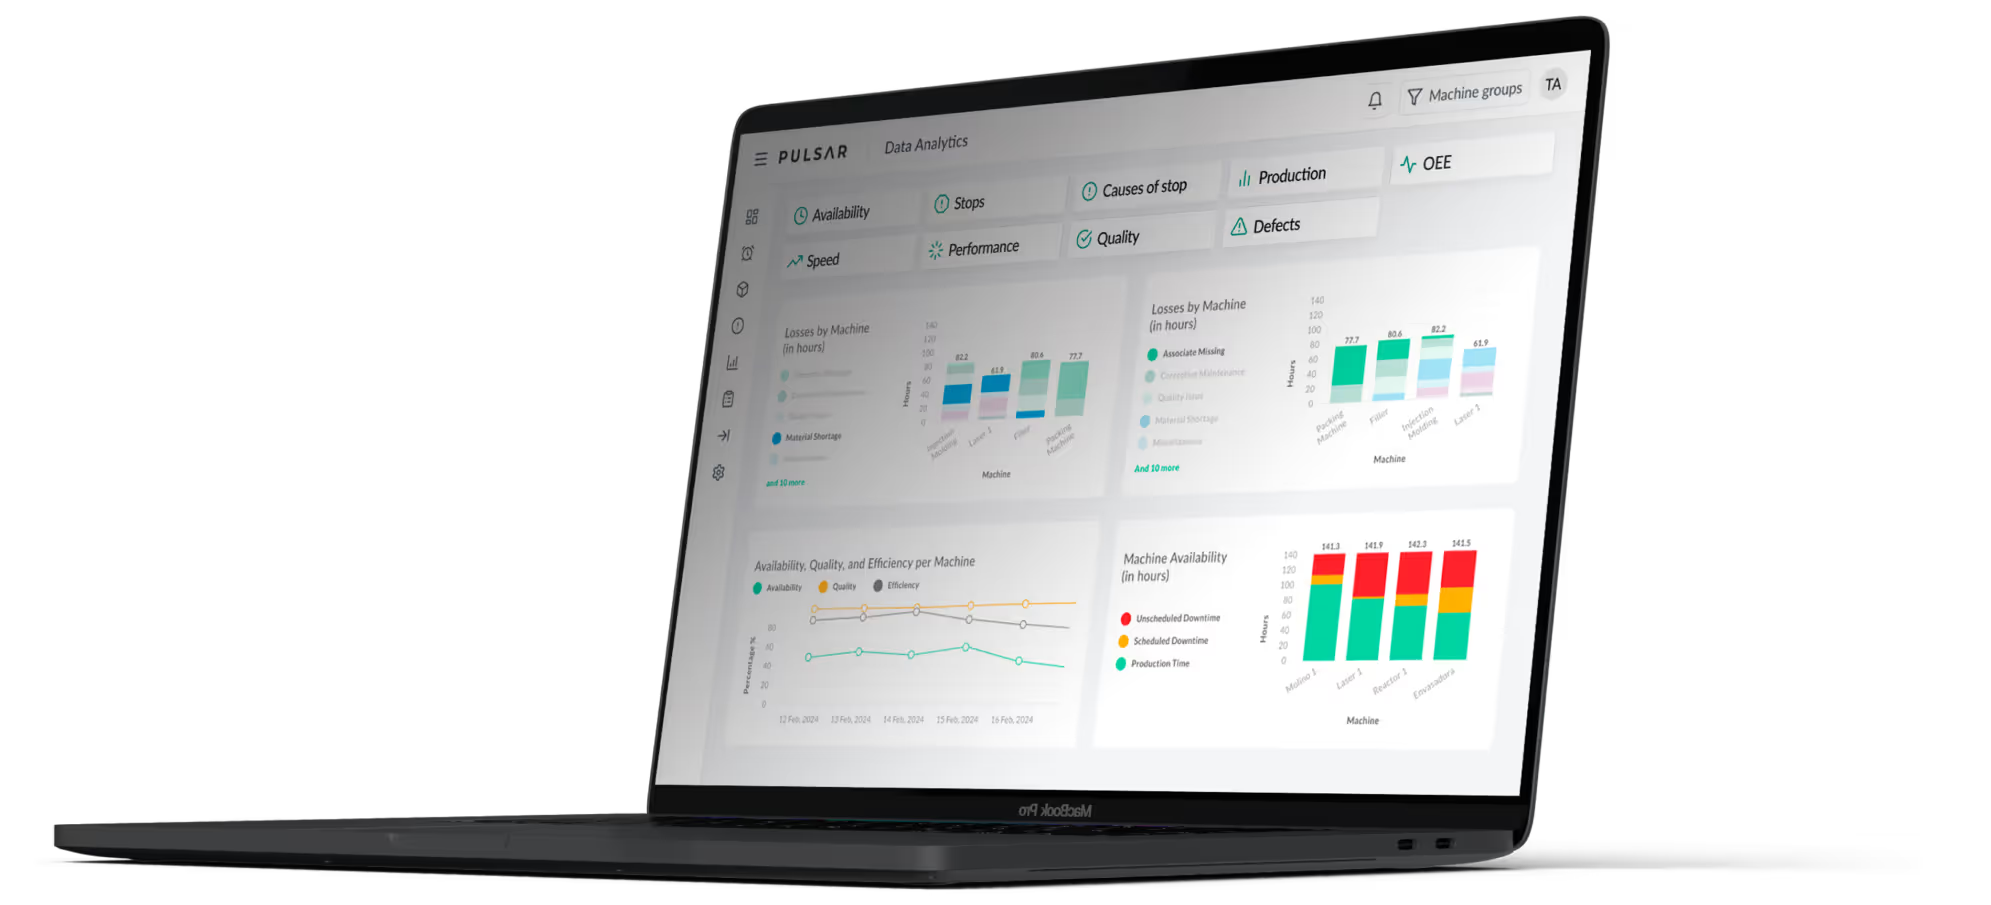
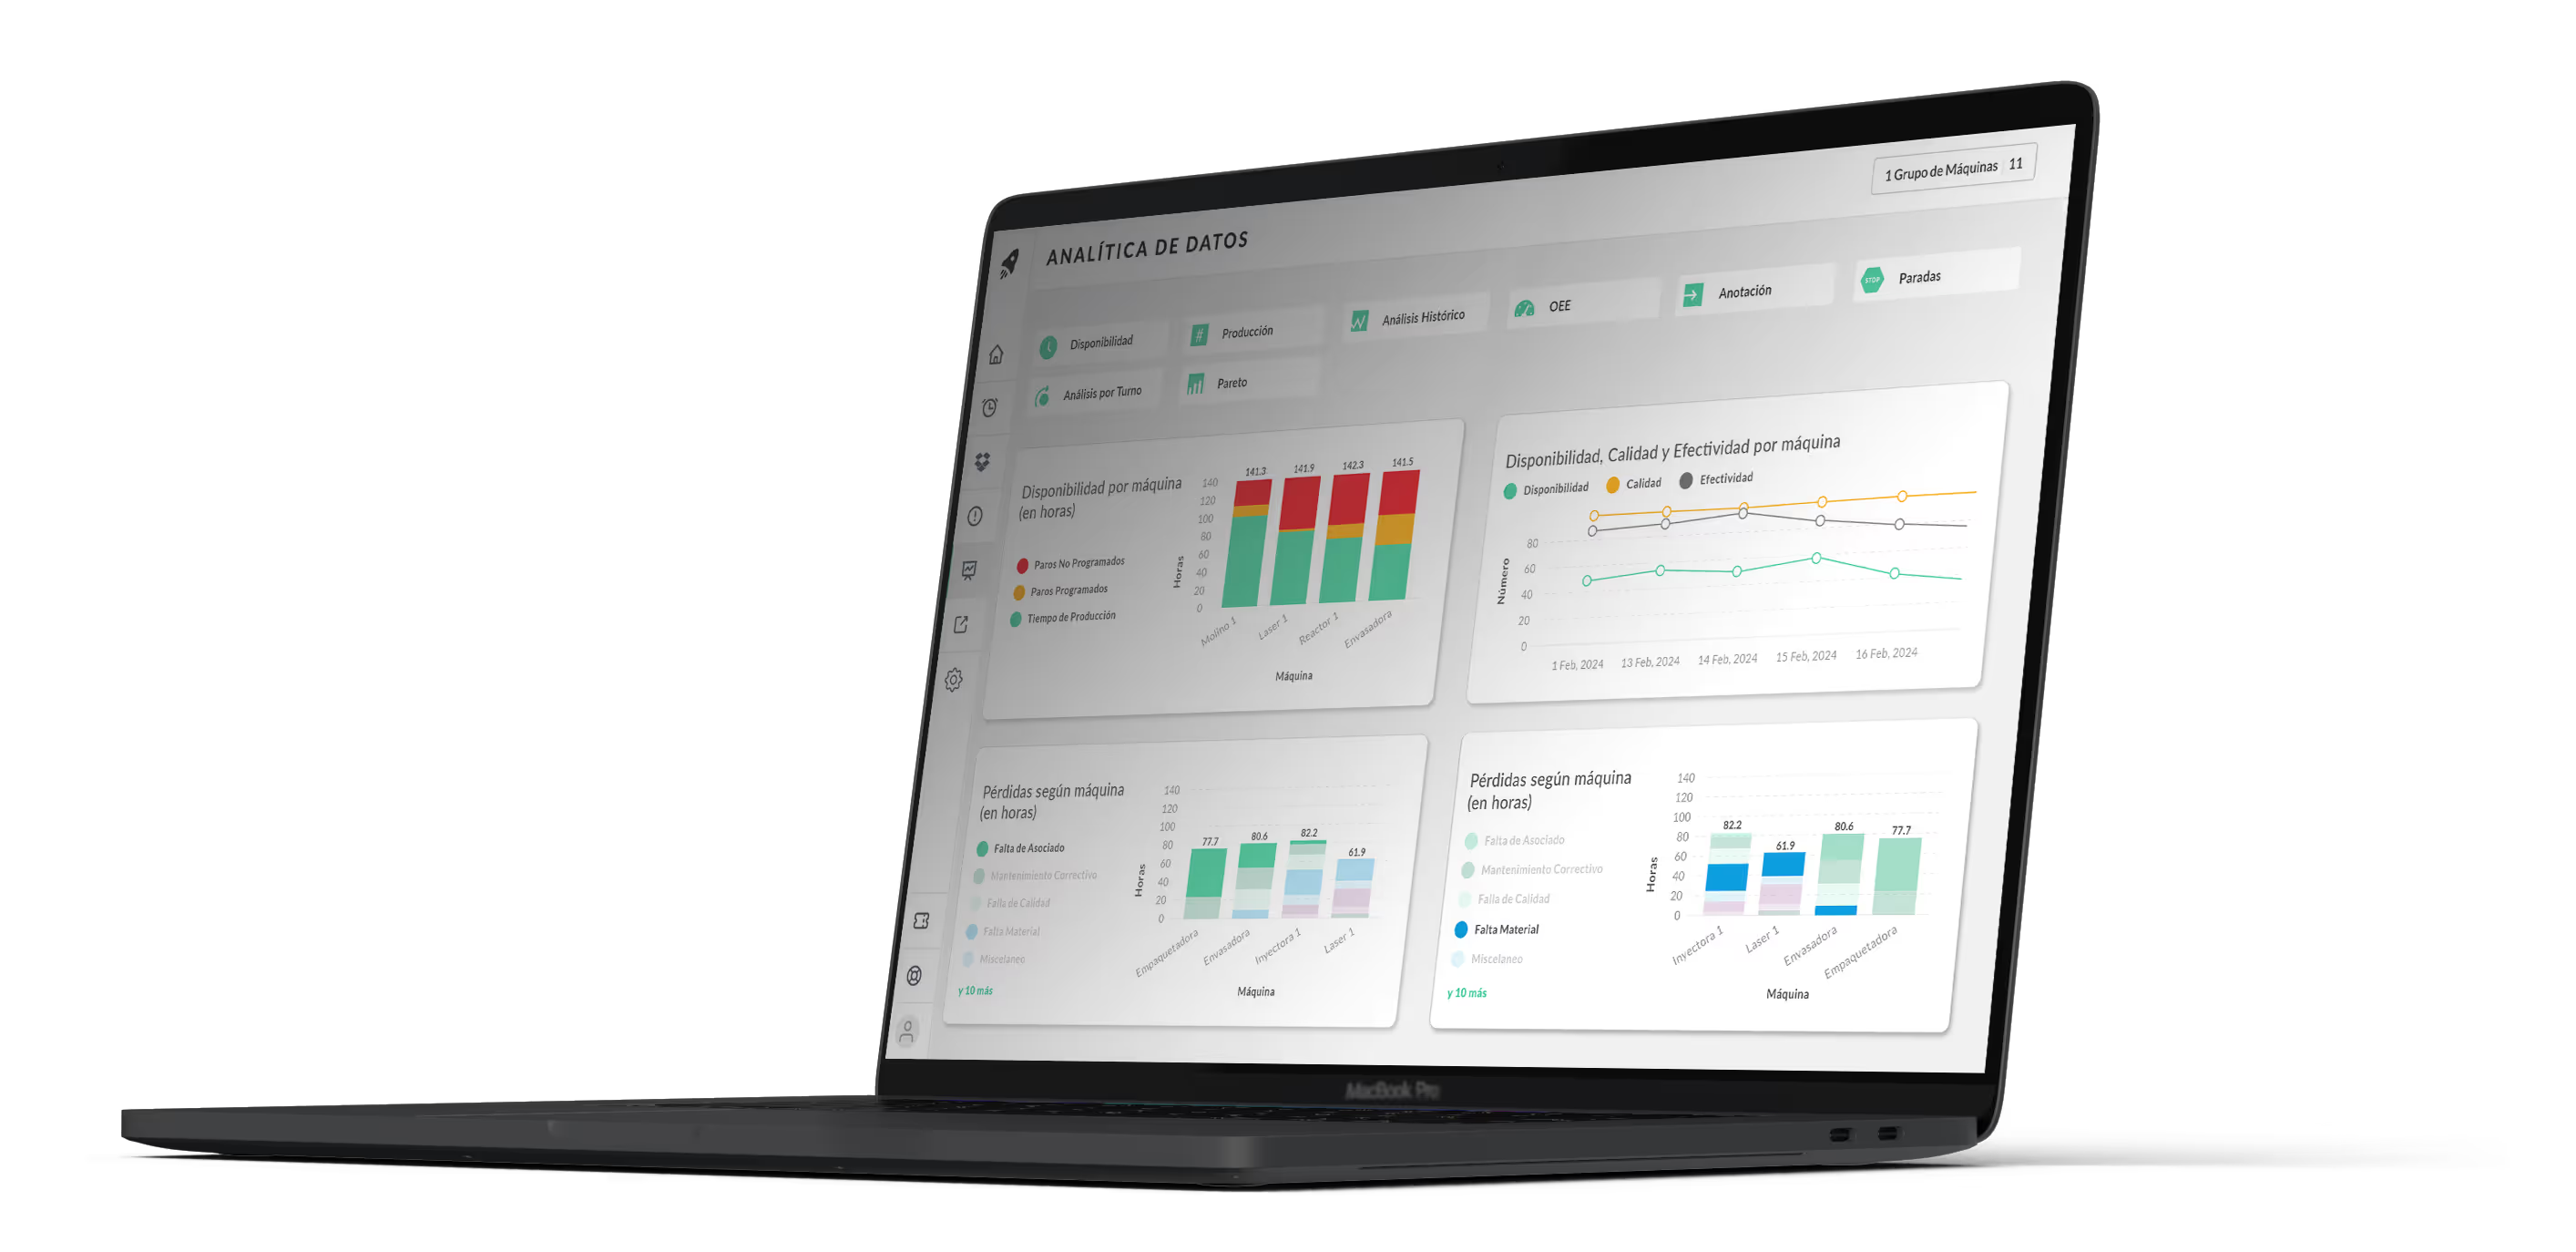
Pulsar helps make this transition less invasive, without requiring access to your machines' PLC. Our platform combines proprietary, high-precision hardware with Industry 4.0 technologies to enable automated machine monitoring, regardless of brand, age, or model, without interfering with existing control systems.
With Pulsar, establishing your baseline (step 3), defining project goals (step 4), and measuring results with accurate data (step 6) become agile, reliable processes backed by quality information to drive results. We help your team make informed decisions that increase operational productivity.
Related articles
Request a Custom Demo
See how Pulsar’s manufacturing intelligence platform can help your operations today.